
Nettles can be found just about anywhere. Leave a small patch of land uncultivated, and sure enough a patch of nettles will soon be found growing there. Nettles grow tall in their search for light, and as the stems are relatively thin, they must be immensely strong to support the structure of the plant, and cope with powerful winds, battering rain, and of course animals and people that trample them down. For these reasons nettles are strong, and this is why I favour the humble nettle for all manner of cordage, such as twine and fishing lines.
Remember too that nettles can be used as food, and literally hundreds of other uses. Plus of course they provide extremely important habitat for wildlife. You can find out these other uses on my courses, or in some of my articles which are dotted around various sources.
This tutorial will take you through the main process step by step, enjoy!
1) Find a tall straight nettle, preferably in mid to late summer for optimum strength. Nettles do of course STING! But, treated correctly you can still handle them without getting stung, although I do find it is an advantage to have tough hands!
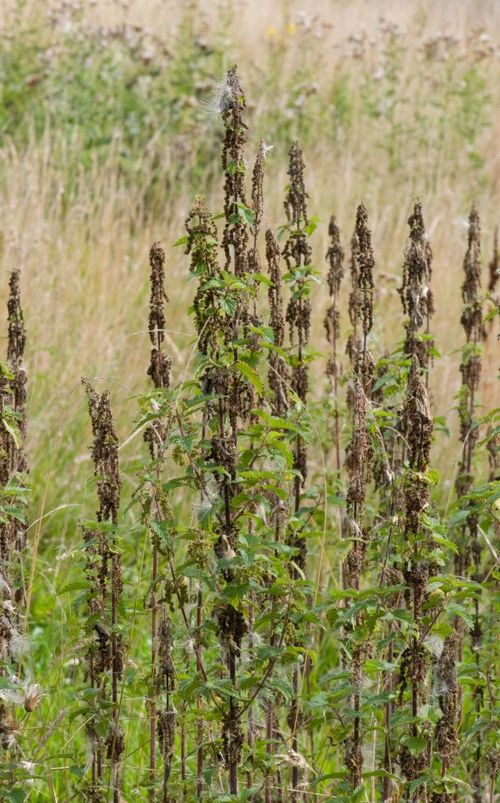
2) Once you have found a suitable nettle you can pull it towards you by holding the surface of the leaves (the stinging hairs are only found on the underside, and the stem)
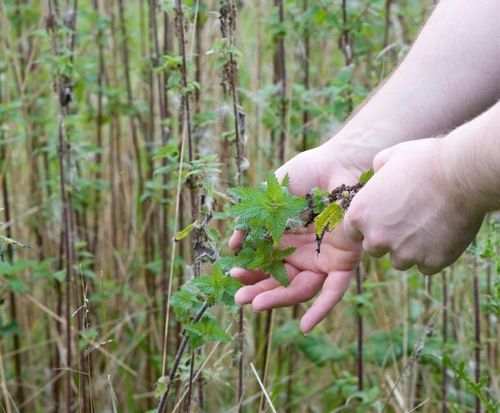
3) Grasp the nettle firmly and give it a slow but powerful tug, and you should end up with the whole nettle, root and all.
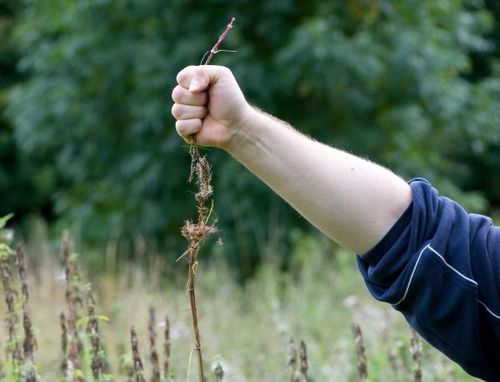
4) Rub the stinging hairs off the stem, and in one movement tear all of the leaves off too. Remember, you can use gloves if you need to. You are now left with a bald stem.

5) Remove the thin top section and the thicker, and often bent, lower section with a good sharp knife.
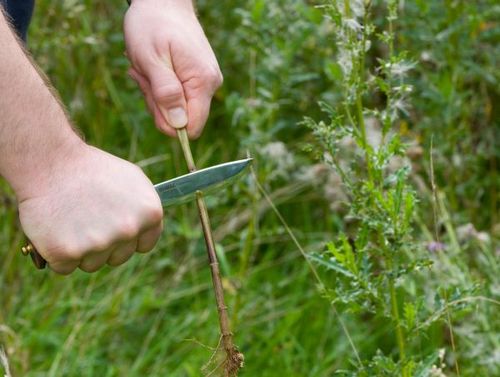
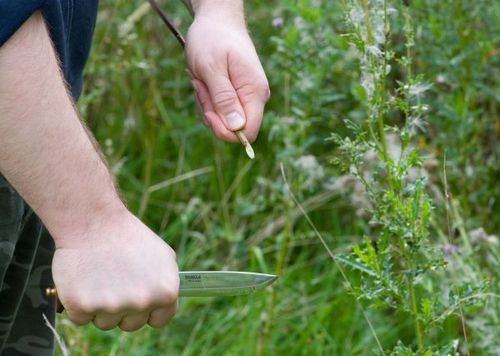
6) Now simply crush the stem all the way along using your fingers, or you can just crush the base. Don't bash the stem with a stone or you will damage the outer fibres, which are going to be your string!
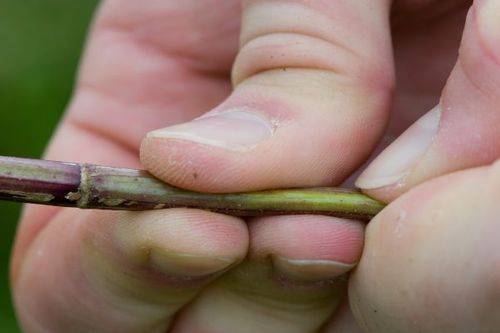
7) Now insert your fingernail and open up the stem all the way along, like a book.
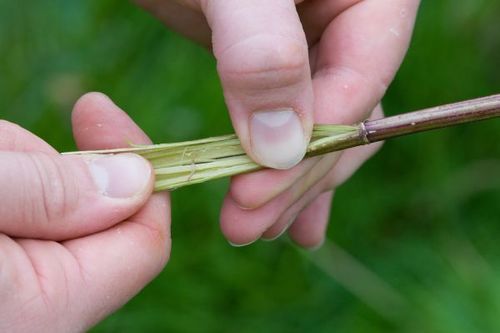
8) It's now time to hold the nettle stem in the middle and bend it over your index finger (inner facing outward), which will then break the inner fibres. They should now break outwards as in the picture. Remove these carefully and discard them, shown in the second picture.
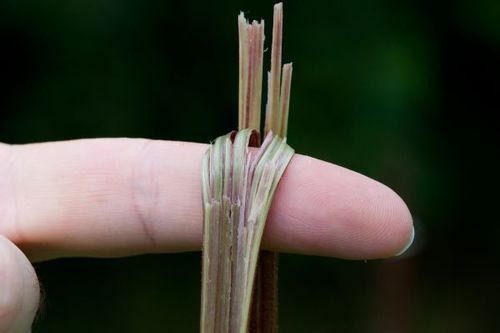
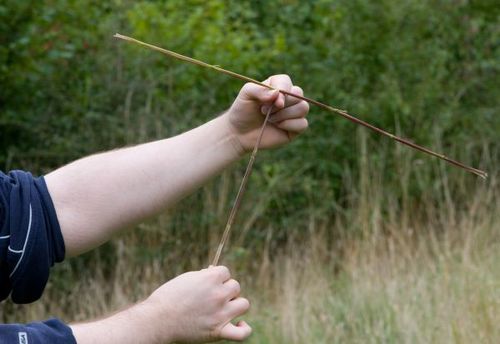
9) This is what you are left with, all of the outer fibres of the nettle. At this stage you can use the cord, but I prefer to thin them down by simply tearing off some strands. But either way, you should now dry the nettle out, which on a warm day doesn't take very long, or you can do this by resting the fibres near to a camp fire.
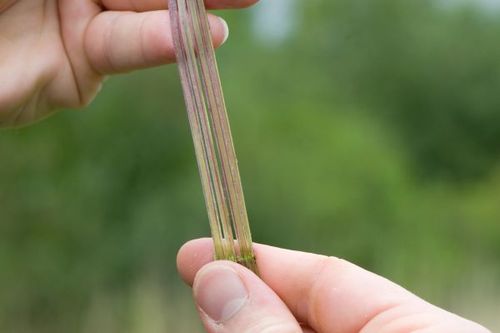
10) Once dry, the nettle can be used, but it may need re-soaking as it can become a little wiry and brittle.
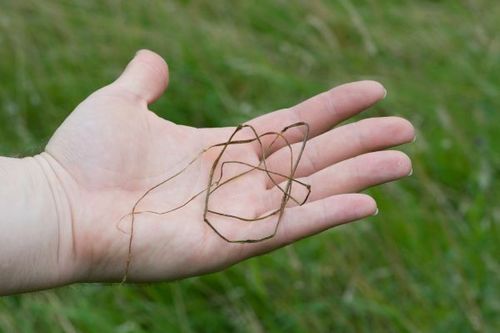
11) Now is the time to braid your nettle. This is what will give it strength and durability.
12) Find the half way point of the strand and simply bend it, and hold (if you're right handed) between your left index finger and thumb.
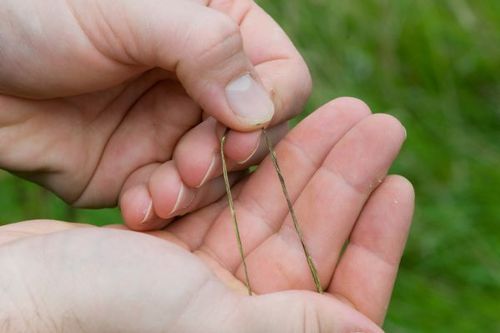
13) Now roll each strand independently, and each time you reach the end of your roll let go with your left hand and watch the cordage start to braid itself. Repeat the process until you have your very own nettle cordage.
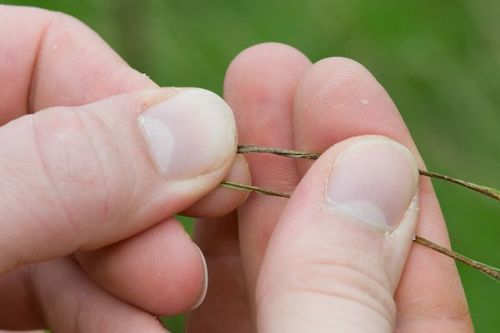
14) Adding extra fibres can be done to give you any desired length, but I will cover this another day.
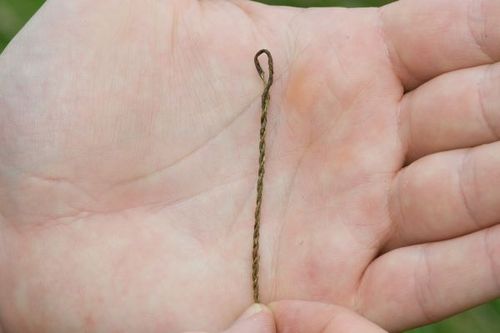
The finished cordage will look like this
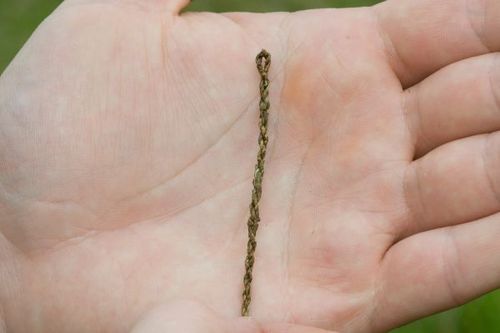
This is an example of a thicker braiding
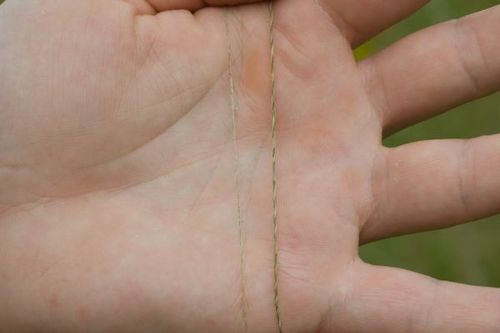
You may also make the cord very thin, for catching small fish for example
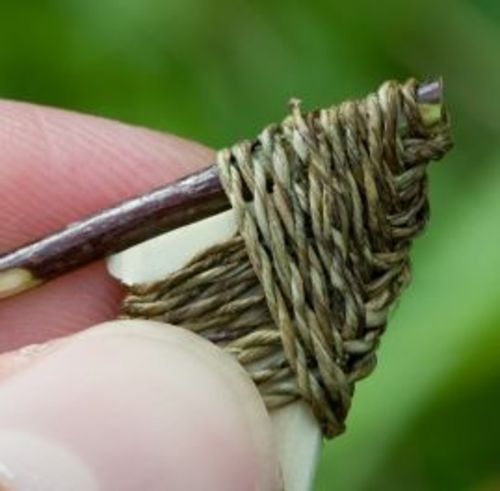
This is just an example of how the cord can be used. Here, it can be seen in use to hold a primitive fishing hook together (I will cover this in another tutorial).
Let me know how you get on and if this has helped you. Remember if you want to be shown how to do this I can cover this in courses. Please pass details of the site to your friends.
I would also like to thank my friend Andrew for taking the pictures whilst I had my hands full. I will leave you with this shot of a Common Darter which I took whilst he was sitting on my friend's bag.
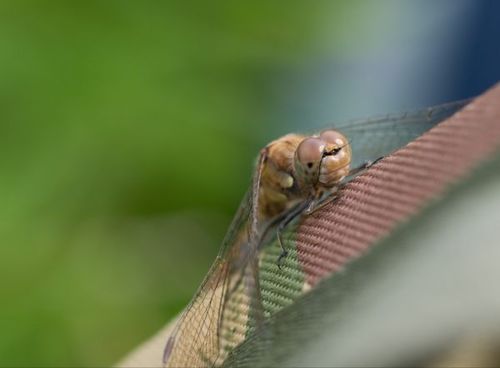
Catch you on the trail
Kris

Ally Atkinson on 17/05/16
Pick a good handful of young fresh nettle leaves(top of the plant) simmer in a pan for about 10 minutes in about a cup full of water,then leave to cool,strain,throw away the leaves and put the lovely dark green water in the fridge, it will act as an astringent for sunburn,dab on skin with cotton wool and it cools beautifully. Make fresh lot every 2 or 3 days.
pete on 08/08/14
Thumbs up, very good tutorial, thanks for taking the time
Kris on 14/07/14
Hi Alan,
Yes, of course, please feel free to use them :)
Thanks
Kris
Ranger Alan on 12/07/14
Hi There!
I'm a National Park Ranger in the United States, I was wondering if I could use some of your pictures to teach kids how to make nettle cordage. Feel free to contact me via the email address above.
Thanks for your efforts to spread these skills, they are forgotten too easily!
Kris on 10/05/14
Hi Andrea,
You're quite right, but the older leaves, such as these were are not recommended as a food source. Look out for the young green ones.
Thanks
Kris
Andrea on 20/02/14
Folks, just so you're aware, you do not have to discard the leaves. They are extremely nutritious! In fact, they're one of the most nutritious green foods.
Once they are cooked (use as any other green leaf), or dehydrated (for tea/infusion), they lose their sting.
Ken Blanding on 12/10/13
Thanks for this tutorial! I'm trying to make some authentic First Nation tools, weapons, and other everyday things. The sources that I'm reading referred to nettle cordage, and the twining, but not how to process it. By the way the sources mentioned after making the initial loop both strands were to be twisted clockwise, then wrapped around each other counterclockwise. Thanks again!
Pam on 02/06/13
I just ran across this tutorial and am very interested. Did you ever create a second one for the splicing for longer cordage? I'd be very interested in that as well. Thank you
Amy @ Homestead Revival on 25/03/13
I'm not sure which is more impressive... the cordage you made from the nettle or the fact that you stripped the nettle bare handed! Yikes! I have this stuff everywhere on our property and I'm looking for productive ways to use it. thanks for a great tutorial!
katinka on 24/03/13
hi. i read somewhere that netles will NOT sting if they are left in water or total darkness for 24 hours. after picking ofcourse.
i don't have tough hands and being a woman i do not WANT to have tough hands so, i would like to know if this really works.
David Prestage on 23/03/13
If anyone doesn't know this already, rubbing the juice (that is found inside the stem) on the site of a nettle's unpleasant sting will cause it to immediately go away.
Cathy Hull on 23/03/13
Thank you. Just another reason for me to start my Nettle patch.
Troy on 18/05/12
Just wanted to say thanks for the tutorial. I have been slowly training my two sons in bushcrafting techniques. This cordage tutorial will be our next lesson.
jenny on 03/05/12
saw someone make cordage from milkweed stems like this
CeeC on 30/03/12
I just read My side of the mountain with my 8yo. We were thinking about how one goes about making rope and fishhooks. I cannot wait to show her this example:-)
bear on 31/07/11
great pictures but i wanted to know how to keep the cordage from unwinding
AK on 14/01/11
Love makeing nettle cord it is so much fun and so durable, i make a choker and it lasts forever :)
Heather on 03/08/10
Oh brilliant! I've been wanting to make nettle cord for a while now - I have a nettle cord water bottle carrier I bought a while ago and wanted to have a go at making my own stuff from it. Another thing to try out this weekend!
Thankyou! :D
Kris on 06/04/09
Hi Nelson,
Thanks for the message. Yes, there is a little trick, which you rarely see covered in books, or on the TV because many people either can't do it, or want to hold it back for courses. I will be adding some new tutorials to cover this later this year or I will add more to this tutorial to show people how it is done.
I was teaching this step on Saturday, it's not hard, but may seem harder trying to replicate it from text and images, but I will do my best to make it easy to follow.
Kris
nelson on 05/04/09
hey this is great thank you. I'm wondering if there is a trick to connecting strands to make the cordage longer?
Kris on 30/03/09
Jamie,
Glad it has helped. Lots more bushcraft tutorials will be added this year. For best results with your cordage you will need to wait until late summer, as its then when the nettles 'firm up'.
I look forward to hearing back from you.
Kris
Jamie Powell on 29/03/09
Nice one Kris, lots of people have said they're making a video/tutorial but you've actually done it. I'll have a go and let you know how it turned out, all the best, Jamie.
gabi on 26/07/17
This website is so cool, so much valuable info!! Too bad there are no new posts... it is specifically hard to find instructions about how to make long nettle cordage or yarn! I'vs been looking for it for a while. I wish this tutorial was complete... anyway... congratulations, your blog is really nice and easy to understand